Headlight Restoration in 30 Minutes for Crystal-Clear Visibility
Previewing the road ahead with perfect clarity is not just a matter of convenience—it’s essential for safe driving. Over time, car headlights become cloudy, yellowed, or hazed due to environmental exposure, UV damage, and oxidation. This degradation significantly diminishes light output, compromising night visibility and overall road safety. Fortunately, headlight restoration offers a fast, affordable, and effective solution, returning your headlights to near-new condition in as little as 30 minutes.
In this comprehensive guide, we’ll walk you through the importance of headlight restoration, the science behind lens clouding, the proven techniques and products to restore clarity, and practical tips to maintain your headlights long-term. Whether you’re an automotive enthusiast, a DIY hobbyist, or someone simply wanting safer night drives, this article has you covered.
Why Headlight Restoration Matters
Safety First: Enhancing Nighttime Visibility
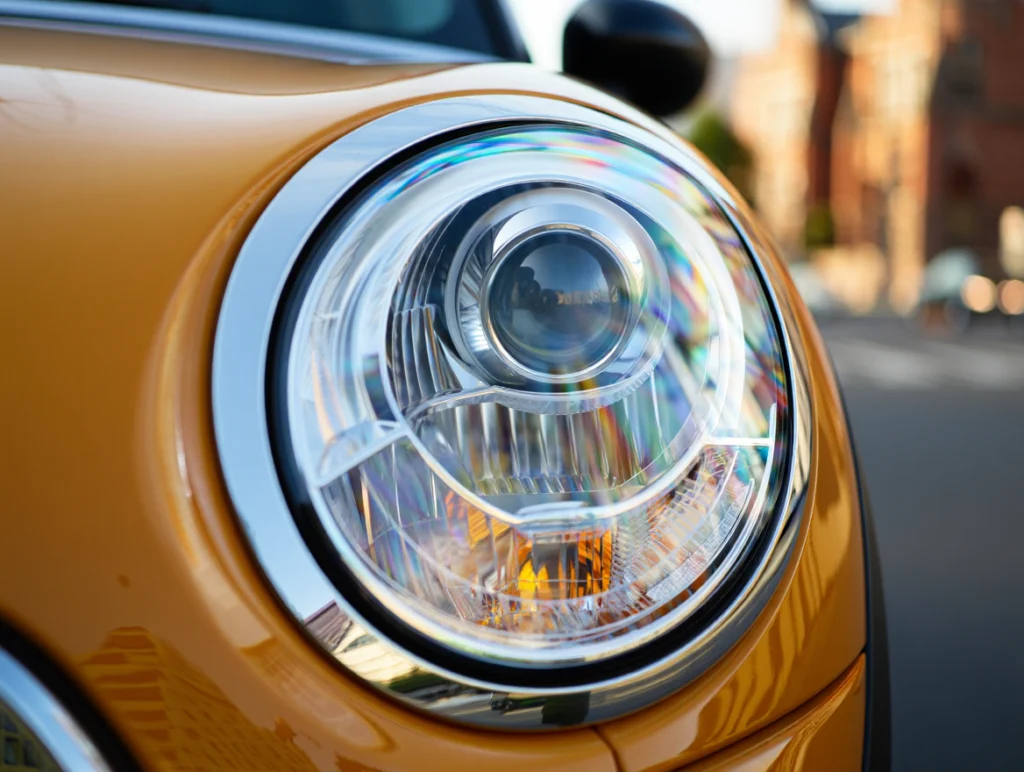
Headlights are your primary means of seeing and being seen during low-light conditions. Cloudy and yellowed lenses can reduce light output by up to 70%, creating “dark spots” and scattering light inefficiently. This impairment increases your chances of accidents by shortening reaction times and making obstacles harder to spot.
Restoring headlight clarity improves the light beam’s range and focus, allowing you to detect pedestrians, road signs, and hazards well in advance. Studies show that clear headlights can reduce nighttime crash risks significantly.
Boosting Vehicle Aesthetics and Resale Value
Beyond safety, crystal-clear headlights make your vehicle look well-maintained and newer. Oxidized, cloudy lenses can make even a well-kept car appear aged and neglected. Headlight restoration contributes to a polished, professional appearance, elevating curb appeal. For sellers, restored headlights can enhance resale value by showcasing attentive maintenance.
Cost-Effective Alternative to Replacement
New OEM headlights or headlight assemblies often cost hundreds of dollars plus labor fees for installation. Restoration kits and DIY methods provide a fraction of the cost with comparable visual results. It’s a smart, wallet-friendly way to revitalize your car without expensive parts or shop visits.
Understanding Headlight Lens Degradation
The Science Behind Cloudy Headlights
Most modern vehicle headlights use polycarbonate plastic lenses prized for their strength and lightweight properties. However, unprotected polycarbonate is vulnerable to ultraviolet (UV) radiation from sunlight, environmental contaminants, road debris, and chemical exposure.
Over time, UV rays break down the resin layers within the plastic, leading to oxidation—a chemical reaction causing the lens surface to become hazy or yellowed. Additionally, microscopic scratches from dirt and grit create a roughened surface that diffuses light.
Common Causes of Headlight Haze
- UV Exposure: Constant sun exposure degrades and oxidizes plastic.
- Road Debris: Tiny stones and dirt chips create surface scratches.
- Chemical Exposure: Harsh cleaners or environmental chemicals accelerate damage.
- Weathering: Rain, snow, and temperature fluctuations contribute to deterioration.
- Poor Maintenance: Neglecting lens cleaning accelerates haze buildup.
Signs You Need Headlight Restoration
Evaluate your headlights by looking for the following:
- Noticeable yellowing or amber discoloration
- Cloudy or milky appearance on the lens surface
- Reduced night driving visibility
- Uneven light beam with scattered or dim illumination
- Scratches or pitting visible on close inspection
If you identify these issues, it’s time for restoration to restore proper function and aesthetics.
Proven Headlight Restoration Techniques for a 30-Minute Makeover
The key to fast, effective headlight restoration lies in the right products, tools, and methods. Here’s a detailed walkthrough you can follow at home or in the shop.
Preparation: What You’ll Need
- Automotive headlight restoration kit (includes sandpaper, polish compound, applicators)
- Microfiber towels
- Painter’s tape or masking tape
- Clean water and spray bottle
- UV sealant or protective clear coat (highly recommended)
- Safety gear: gloves, eye protection, and dust mask if sanding
Step 1: Clean and Mask Off Surrounding Areas
Thoroughly wash your headlights with soap and water to remove surface dirt and grime. Dry completely using a microfiber towel.
Apply painter’s tape around the edges of the headlights, protecting adjacent paint and trim from sanding or chemical exposure.
Step 2: Sanding to Remove Oxidized Layer
This step removes the damaged outer layer of plastic. Using the sandpaper provided in your restoration kit:
- Begin with a coarse grit (e.g., 800 or 1000 grit) and wet sand the entire lens evenly. Keep the surface wet by spraying water constantly to reduce dust and heat buildup.
- Progressively move to finer grits (e.g., 1500, then 2000 grit) to smooth the surface and eliminate sanding marks.
- Sand in a horizontal motion at first, then repeat with vertical strokes to ensure uniform abrasion.
Sanding duration depends on the lens condition but aim for about 10-15 minutes per headlight.
Step 3: Polishing for Crystal-Clear Finish
After sanding, apply a dedicated headlight polish or rubbing compound designed to eliminate fine scratches and restore clarity.
Apply a small amount of polish onto a foam applicator or microfiber cloth. Using circular motions, buff the lens surface with moderate pressure.
Continue polishing until the plastic becomes glossy and transparent, removing milky haze and swirl marks. This may take 5 to 10 minutes per lens.
Step 4: Final Cleaning and Inspection
Wipe off excess polish and buff using a clean microfiber towel. Check in daylight and under artificial light to assess clarity. Repeat polishing if necessary for stubborn areas.
Step 5: Applying UV Sealant for Long-Term Protection
Oxidation returns if lenses are left unprotected. To extend restoration results, apply a UV protective clear coat or sealant.
Follow product instructions carefully, usually requiring a thin, even layer applied with an applicator pad. Allow drying time as specified.
This step can add months—but sometimes years—to the clarity lifespan of your headlights.
Alternative Solutions: Quick Fixes and Professional Services
Headlight Film Protective Covers
A less invasive option involves applying a transparent protective film over your headlights. This adds scratch resistance and some UV blocking but typically needs replacement every few years.
Professional Headlight Restoration Services
If you prefer not to DIY, many auto-detailing shops and service centers specialize in headlight restoration. Professionals use industrial-grade tools and coatings offering longer-lasting, showroom-grade results. The typical turnaround time ranges from 30 minutes to 1 hour per vehicle.
Maintenance Tips to Extend Headlight Clarity
Post-restoration care can preserve your headlights’ crystal-clear condition longer. Consider these tips:
- Wash regularly using automotive-safe soap to remove dirt and contaminants.
- Avoid harsh chemicals or abrasive cleaners on lenses.
- Park in shaded or covered areas to minimize UV exposure.
- Apply a fresh UV sealant coating every 6-12 months.
- Address new chips or scratches immediately with local touch-up polishing.
- Use covers or protective films during off-road or winter driving to reduce impact damage.
Frequently Asked Questions (FAQ)
How often should you restore your headlights?
Typically, oxidation returns within 1 to 3 years, depending on sun exposure and maintenance. Regular inspections and an annual restoration or polishing session help maintain clarity.
Can headlight restoration remove deep cracks?
Restoration techniques improve surface clarity but cannot fix structural cracks or severe lens damage. If cracks or fogging are extensive, replacement might be necessary.
Is it safe to use household products like toothpaste for headlight restoration?
Toothpaste or baking soda are sometimes suggested home remedies due to their mild abrasiveness. While they can achieve temporary improvements, they lack the effectiveness and durability of dedicated automotive products and often require frequent reapplication.
Does headlight restoration improve the value of my car?
Yes, clear and well-maintained headlights boost curb appeal and convey responsible ownership, positively influencing resale value.
Recommended Headlight Restoration Products and Kits
- Liquid Glass Headlight Restoration Kit – Known for its advanced oxidation removal formula with long-lasting UV protection.
- Meguiar’s Heavy Duty Headlight Restoration Kit – Includes sanding discs, polish, and sealing compound.
- 3M Headlight Restoration Kit – Trusted brand with all-in-one sanding, polishing, and sealing components.
Always select kits that include a UV-sealant or clear-coat step for optimal longevity.
Conclusion: Clear Vision, Safer Journeys
Restoring your car’s headlights is a smart, time-efficient way to enhance both vehicle safety and appearance. With the right tools, materials, and know-how, you can achieve crystal-clear visibility in as little as 30 minutes, dramatically improving nighttime driving safety while adding value and sparkle to your vehicle.
Don’t let hazy headlights dim your driving experience. Take action today with our proven restoration techniques and enjoy safer, brighter journeys ahead.